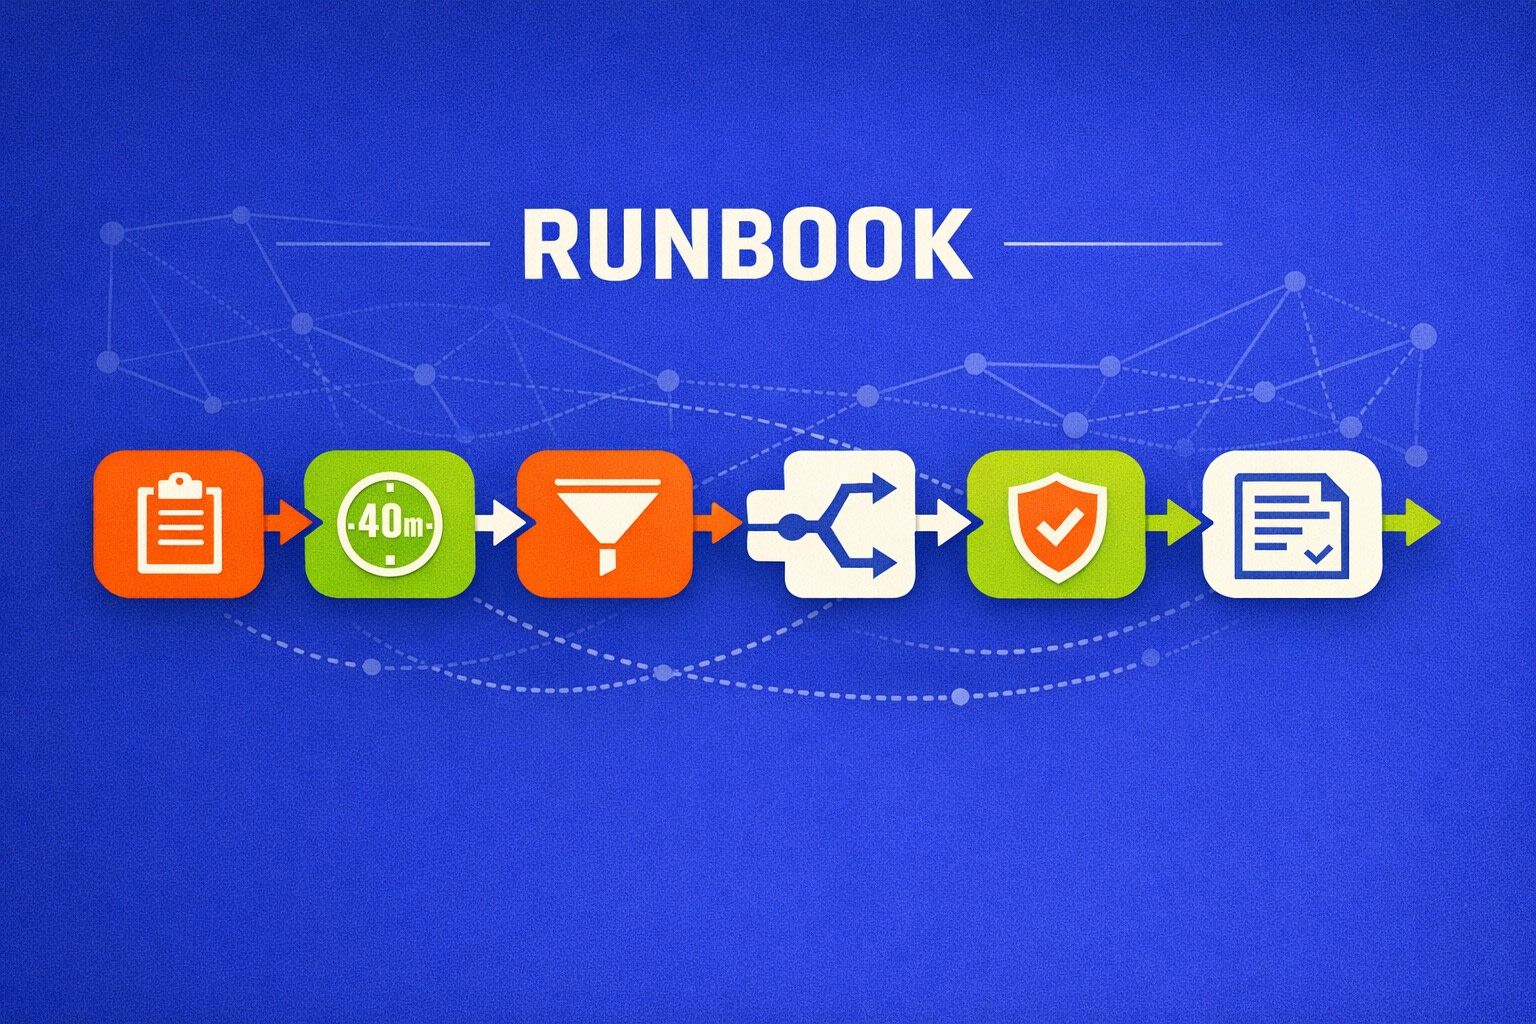
Turn ambiguous requirements into a one-page diagram in 30 minutes
Ambiguous requirements rarely fail because people aren’t smart. They fail because the same words mean different things to different stakeholders. “Sync with the CRM,” “near real-time,” “support approvals,” or “make it scalable” can each hide five interpretations. A fast way to surface those interpretations is to convert meeting notes into a single, shared system diagram that’s simple enough to validate and specific enough to build against.
This workflow is designed for product managers, engineering leads, solutions architects, and anyone who ends meetings with a pile of notes and a lingering sense that alignment didn’t actually happen.
The 30-minute workflow overview
You’ll produce one page containing: a context statement, actors, a system boundary, core flows, key data objects, and a short list of assumptions and open questions. The goal is not a perfect architecture diagram; it’s a “minimum sufficient” picture that makes misunderstandings obvious.
Minute 0–5: Reduce your notes to a “problem sentence” and a scope box
Start by writing a single sentence that combines outcome and constraint:
- Outcome: what changes in the user’s world if this works?
- Constraint: what must be true (time, compliance, system limits, rollout)?
Then draw (or describe) the system boundary: what’s inside the build vs. what’s an external dependency. If you can’t say what’s “out of scope,” the meeting likely didn’t decide anything yet.
A useful check: highlight every note that is a solution (“we should add Kafka”) vs. a need (“events must not be lost”). Keep the needs; park the solutions.
Minute 5–10: List actors and triggers, not features
Most ambiguity starts with who initiates what. Identify:
- Actors: human roles (Customer, Admin, Support) and system roles (CRM, Billing, Identity Provider).
- Triggers: the moments that start a flow (user clicks, scheduled job, webhook, file drop, API call).
Write each trigger in the format “When X happens, the system should Y.” This pushes the conversation away from “feature lists” and toward behavior that can be diagrammed.
Minute 10–15: Sketch the happy path as 5–7 boxes
Choose the primary use case and sketch the happy path. Keep it small:
- Start with the trigger.
- Limit the flow to 5–7 steps.
- Use verbs for steps (“Validate request,” “Create record,” “Send notification”).
At this stage, avoid deep branching. If stakeholders immediately argue about edge cases, that’s a signal to capture them as assumptions and questions (you’ll do that in minute 20–25).
Minute 15–20: Add data objects and interfaces where ambiguity hides
Now annotate the flow with the minimal data and interfaces needed to make it real:
- Key objects: Order, Account, Ticket, Subscription, Approval, Audit Log.
- System interfaces: API endpoints, events, webhooks, files, or UI screens.
- States: Draft → Pending Approval → Approved → Rejected.
This is where “sync” becomes concrete: is it push or pull, batch or event-driven, one-way or bi-directional, source-of-truth vs. replica? Don’t guess—label unknowns explicitly.
Minute 20–25: Capture assumptions, risks, and open questions on the same page
Requirements diagrams fall apart when the important uncertainty lives elsewhere (Slack threads, tickets, someone’s memory). Keep it on the diagram page, below or beside the flow:
- Assumptions: statements you’re currently treating as true (e.g., “CRM is system of record for contacts”).
- Risks: items that could derail delivery (e.g., “rate limits unknown,” “PII handling unclear”).
- Open questions: decisions needed (e.g., “What is the SLA for ‘near real-time’?”).
If you have more than 8–10 open questions, the meeting notes likely reflect discovery, not ready-to-implement requirements. That’s still valuable—just name it.
Minute 25–30: Validate with a fast review script
End by reading the diagram aloud using a consistent script:
- Scope: “This is what’s inside vs. outside.”
- Actors: “These are the systems/roles involved.”
- Flow: “When X happens, here’s what the system does.”
- Data: “These objects/states change.”
- Unknowns: “These are the assumptions and questions we need answered.”
Ask stakeholders for corrections, not opinions. “What’s wrong or missing?” is a better alignment question than “Does this look good?”
What a strong one-page system diagram includes
You don’t need formal notation to be effective. You do need consistency. A reliable one-pager typically contains:
- A title and date: so people know which version they’re looking at.
- System boundary: one box around what you own.
- External dependencies: clearly labeled.
- One primary flow: the happy path.
- Two to three critical variants: only if they change architecture or business rules.
- Assumptions/questions: visible and prioritized.

When you need more detail, don’t expand the diagram endlessly—create a second one-page diagram for a secondary flow (e.g., “Refunds,” “Admin overrides,” “Data export”).
Common failure modes and how this workflow prevents them
“Everyone agreed in the meeting, but implementation diverged”
This happens when agreement is verbal and implicit. A one-page diagram forces explicitness: actors, ownership, triggers, and data movement become visible, and mismatched assumptions surface early.
“The diagram is too technical for stakeholders”
Overly technical diagrams optimize for builders, not decision-makers. This workflow starts with the happy path and labels unknowns. You can always add an engineering-focused diagram later; you can’t recover lost alignment after build begins.
“We spent hours polishing visuals instead of clarifying decisions”
Speed matters. Use a text-first approach and let the visual format serve clarity. If you want to streamline the jump from written notes to a clean visual, tools like 7aeo can help translate structured text (actors, steps, objects) into diagrams you can quickly adjust and export—without turning diagramming into a design project.
How to make it repeatable across your team
Consistency beats sophistication. Create a lightweight template your team reuses:
- Header: problem sentence, owner, date, links to source notes.
- Diagram area: boundary, actors, happy path.
- Sidebar: assumptions, risks, open questions.
Over time, you’ll notice patterns—especially which questions recur (SLAs, source of truth, error handling). Bake those into your meeting agenda and your diagram checklist. If you want a shorter companion process that starts even earlier (right at the notes stage), this related guide on turning meeting notes into decision-ready diagrams pairs well with the 30-minute workflow here.
Vertical Video